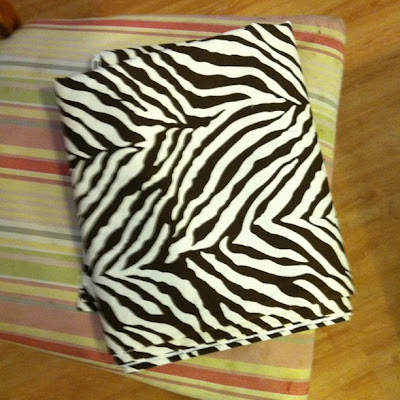
(My kitchen chair before I started)
One of the absolute easiest ways to give your kitchen or dining room a fresh new look is by recovering your chair seats.
I like to have a little different style every so often, but that isn't the main reason that I recover my chairs. I have small children. Three of them. And when they eat, they don't always use utensils. And, they seldom use napkins. But, it isn't unusual for them to wipe their grubby little hands on their chair seats. Sigh.
My chairs get Funky. And, I'm not talkin' Sweet Funky, I'm talkin' ICK!
 So, once every 8 or 9 months, I recover my kitchen chairs. And, for a little while, they are perfect and pretty. And then for the next few months, they gradually get funky, until we start the cycle all over again.
The good news is that it is easy!
This time, I decided to do a little something different... zebra. And, I am lovin' it!

How much fabric you need will, of course, be determined by how big your chair seats are and how many chairs you have. I have 6 chairs. Home decorator fabric measures around 54" wide, and is purchased by the yard (or portion thereof). So, you are working with something that is approximately 54" wide and then you determine how many yards you need to buy.
I was able to get 4 chairs per yard and have a little leftover to make a pillow out of. That I am hoping I get around to completing before I turn 80.
The next step is to gather your tools. I use a screwdriver, one that I can change out the tip of, because during a recent recovery of my chairs, I replaced some of the screws that had been lost. And, in my infinite wisdom, I mixed up flat head and phillips head screws (those are the ones with the cute little plus sign). I use a hammer, a staple gun, spare staples, a cordless drill (I love the whole power tool thing - it makes me feel so "Tim the tool man"), and a good pair of shears for cutting the fabric.

Turn your chair upside down and use your drill or screwdriver to remove the screws holding the seat cushion to the chair.

I always get a good giggle out of the California safety labels. If you live in California, or have visited here, you will know that according to the signs you see EVERYWHERE, everything in California is known to cause cancer.

Lay your fabric on your work surface, right side down, and place your chair cushion on top of it, wrong side up. You will need your fabric to have enough around the edge of the cushion to fold it up and around, several inches. So, if you are that kind of girl, measure it. If you are like me, just eyeball it and trim around the seat cushion.

The next step is to break out the staple gun and get to staplin'! Start on one edge, and fold up the fabric and staple it in place on the underside of your chair cushion. Pull it snugly, but not too tight. Next, take the opposite edge and repeat. Then do the remaining two edges.

Repeat as many times as you have chairs. Reattach your seat cushion to your chair and you are done!


Don't they look better?! I got all excited with re-covering my chairs that I decided to tackle an antique rocking chair I have too. I will share it next week. Wait until you see it!!


No comments:
Post a Comment