

Because I am a complete nutcase sometimes, I decided to re-cover my kitchen chairs and also tackle an antique chair recover project in the last day or so before my husband came home from a 7 month deployment. All while I have three children under the age of 8 running around, and because that is no big deal, I was also baking homemade bread at the same time. It is a real wonder the men with the white jackets didn't come and take me away to a padded room somewhere!
My Mom gave me this really neat upholstered antique rocking chair. The chair was really neat and had a lot of character, but the upholstery wasn't so neat! I have been wanting to give it a makeover for awhile now, but the only thing I knew about upholstery is that it is fairly expensive to pay someone to do for you!

I decided to try to give it a mini-makeover. It really needs a complete overhaul, but just putting some new fabric over the existing upholstery was all I felt confident to handle on my own. I know that the chair really needs more attention because the undercarriage of the chair is in a little tough shape, and it sheds little straw fiber-y stuff from time to time.

I purchased the new fabric from Joann Fabrics and also purchased some cotton cording trim to use that I didn't end up using.

I looked over the current upholstery situation, and tugged at a loose section of the back and saw some really rusty upholstery tacks. Pretty sure I didn't want to do anything with those, so I just put it back the way it was and tried to figure out the quick and dirty method.

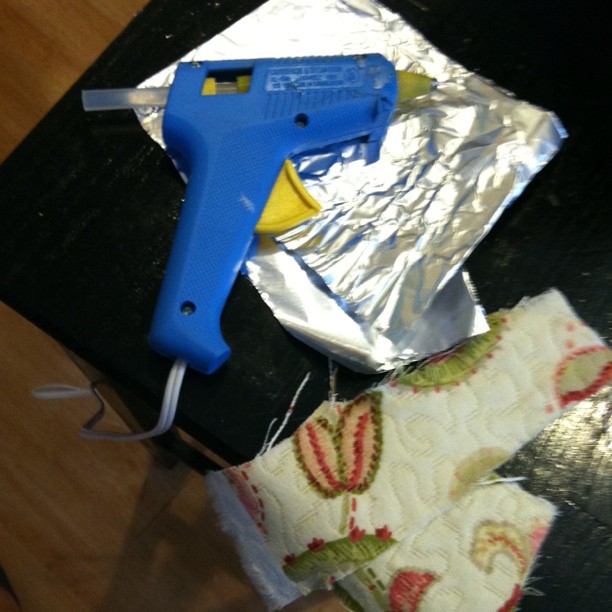
Being a complete novice at this re-covering a chair thing, I totally thought I could do this with a staple gun and a glue gun. And, guess what? It totally worked!
First, I draped the fabric on the chair to see how I would want the pattern to look.

Then I trimmed around the edges, leaving lots of extra to work with.

To cover the seat back cushion, I pulled the fabric around to the back and liberally applied hot glue to keep the fabric in place. It is important to pull snugly, but not so tight as to stretch the fabric.

I clipped and tucked the fabric around the wooden arm of the chair, and it turned out really nicely. I just took a small section and worked it and then kept working around. I tried to take my time and not rush through.

I measured and cut a piece for the back panel, to cover the fabric that was pulled around from the front, making sure to cut a larger piece than I needed to be sure to have enough to fold the rough edges under.

Here is the back cushion all done. Now, to move on to the seat cushion!
Figuring that the seat cushion would be under the most stress, I wanted to secure the fabric a little better than just with glue. So, I used the staple gun here. The process was very similar to when I did my kitchen chairs, only the seat isn't removable from the wooden frame. So, I worked around the frame on the seat just as I had for the back.
I laid out the fabric to determine pattern placement, and cut around it leaving a generous amount to attach to the chair.
I stapled to the wooden frame beneath the chair seat.

Ta Da! What do you think?

I am pretty tickled with the results!


1 comment:
Gorgeous, Missy! Love your choice of fabric, great texture and colors!!
Post a Comment